A tile pathway in the garden not only adds aesthetic charm but also enhances the functionality of your space. However, to ensure its longevity and reliability, it's crucial to establish a sturdy foundation. In this article, we'll explore the steps, materials, and tools required to create a durable base for a tile pathway in your garden.
Step 1: Planning and preparation
Before commencing work, it's essential to plan the layout of the tile pathway and prepare the work area. Determine the pathway route, ensuring it meets your needs. Then, proceed with the following steps:
- Mark the pathway: use a marker, paint, or stakes and string to mark the pathway route on the ground.
- Clear the site: remove vegetation, rocks, and any obstacles from the area where the pathway will be installed.
Step 2: Ground preparation
A solid foundation is the key to the longevity of a tile pathway. To achieve this, undertake the following actions:
- Level the surface: use a shovel and rake to level the ground along the pathway route.
- Compact the soil: utilize a compactor or hand tamper to compact the soil, preventing future settling and sinking of the pathway.
Step 3: Installation of geotextile
Geotextile material helps prevent weed growth and maintains the stability of the foundation. Install it over the leveled and compacted soil.
Step 4: Application of gravel or aggregate
Gravel or aggregate serves as drainage material and enhances the stability of the foundation. Apply a layer of gravel approximately 5-10 cm thick and evenly distribute it along the entire pathway area.
Step 5: Laying sand bed
A sand bed facilitates the leveling of the surface for tile installation and prevents tile sagging. Apply a layer of sand approximately 3-5 cm thick over the gravel and evenly spread it.
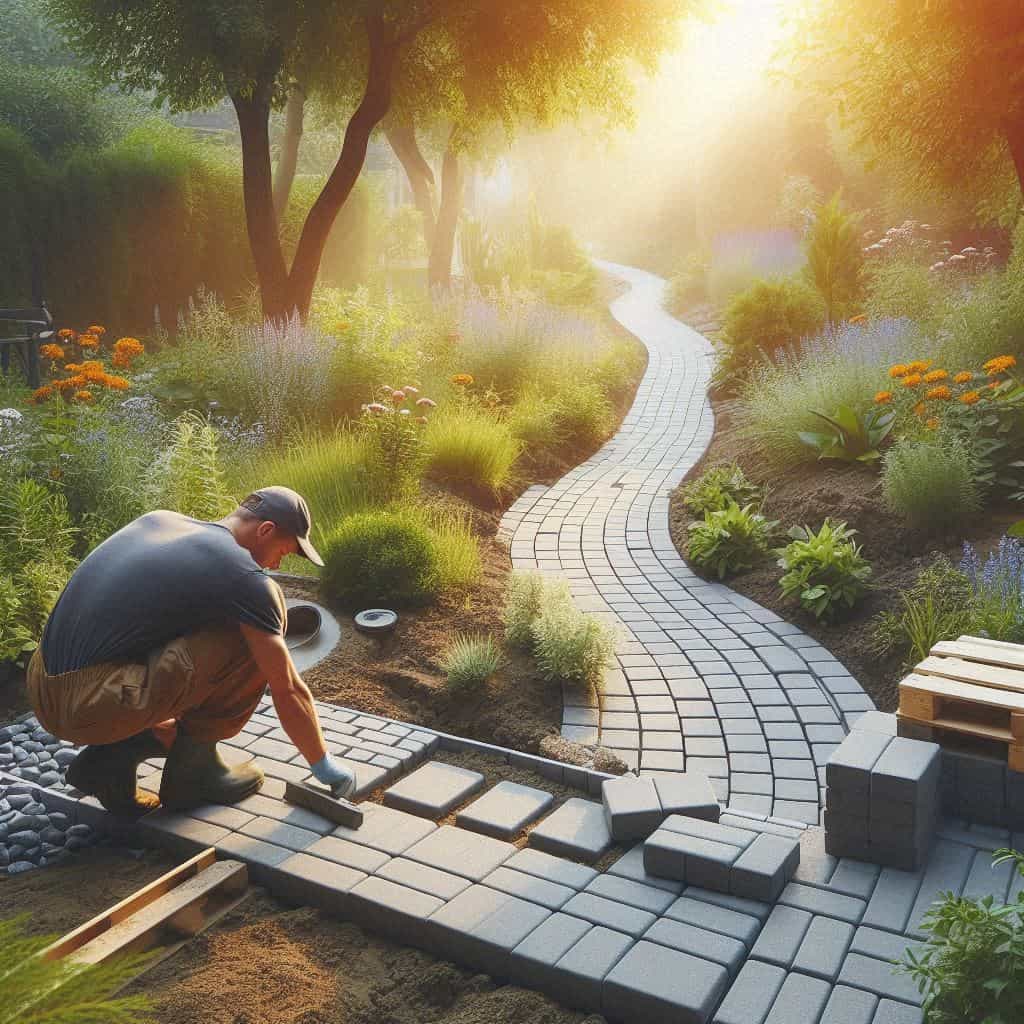
Step 6: Tile installation
Proceed with laying the tiles. Place the tiles evenly along the pathway route, maintaining the necessary spacing between them for drainage. Use a ruler or string to ensure a straight line.
Step 7: Securing the tiles
After tile placement, ensure they are securely fixed. A rubber mallet can be used to provide additional stability.
Step 8: Finishing touches
Complete the final tasks, including:
- Grout filling: fill the gaps between the tiles with sand or specialized grout material.
- Edging reinforcement: if required, install edging elements to prevent tile displacement.
- Watering: water the pathway to compact the sand bed and grout material.
- Allow the pathway base to dry and settle before use.
Creating a sturdy base for a tile pathway in the garden is a crucial step in ensuring its longevity and functionality. Follow these practical steps, use the right materials and tools, and your tile pathway will not only enhance the aesthetic appeal of your garden but also serve as a durable asset for years to come.
Materials list
Here are the materials required to create the base for a tile pathway in the garden:
- Gravel or aggregate: drainage material to ensure base stability.
- Sand: used for creating a sand bed under the tiles and for grouting between them.
- Geotextile: prevents weed growth and maintains base stability.
- Tiles: choose tiles suitable for outdoor use and matching the aesthetic style of your garden.
- Edging elements: if necessary, for reinforcing pathway edges.
- Grout material: used for filling gaps between tiles after installation.
- Water: for compacting the sand bed and grout material.
This list includes the essential materials needed to create a sturdy base for a tile pathway in your garden. Additional equipment or materials may be required depending on specific project conditions and requirements.
Tools list
Here are the tools needed to create the base for a tile pathway in the garden:
- Shovel: for leveling the ground surface and removing vegetation.
- Rake: for even distribution of soil and removal of small obstacles.
- Compactor or hand tamper: for compacting the soil and creating a sturdy base.
- Marker or paint: for marking the pathway route on the ground before starting work.
- Tape measure or string: For maintaining a straight line during tile installation.
- Rubber mallet: for securing tiles in place after installation.
- Tile cutter: for cutting tiles to the required shape and size, if necessary.
- Brush or roller: for applying adhesive or grout material, if needed.
- Bucket: for mixing grout material or watering the pathway.
- Level: for ensuring the surface level during tile installation.
This list includes the essential tools required for successfully completing the project of creating a base for a tile pathway in your garden. Additional equipment or tools may be necessary depending on specific project conditions and requirements.
Working time calculation
Let's calculate the approximate time required to create the base for a 1-meter wide tile pathway on a flat stretch, considering the key stages of work. Let's assume we have a pathway segment 5 meters long.
- Planning and Preparation: preparing the work area and marking the pathway route may take approximately 1 hour.
- Ground preparation: leveling the surface and compacting the soil may take about 2 hours.
- Geotextile installation: installing geotextile may take around 30 minutes.
- Application of gravel or aggregate: applying the gravel layer and evenly distributing it may take approximately 1-2 hours.
- Laying sand bed: applying the sand bed and leveling it may take about 1 hour.
- Tile installation: the time for tile installation will depend on the size and complexity of the pattern. However, on a 5-meter long segment with a 1-meter wide pathway, this may take approximately 3-4 hours.
- Finishing touches: final tasks such as filling gaps with sand, installing edging elements, and watering the pathway may take another 1-2 hours.
Therefore, the total time for completing the work for laying a tile pathway 1 meter wide on a flat stretch is approximately 9-14 hours. Please note that these are approximate estimates, and the actual time may vary depending on factors such as the experience of the worker, availability of materials and tools, and weather conditions.